Mount dampers to lower chassis
As described, front chassis acts as bumper and needs to be able to slide related to lower chassis. Therefore, silicone or rubber dampers are used to combine both main chassis parts.
Mounting the dampers to lower chassis depends on what kind of dampers you purchased or mold. You find (or build) them with
- one nut and one bolt or
- bolts on both sides or
- nuts on both sides
In all cases, you need M6 nuts and washers to screw dampers to lower chassis. 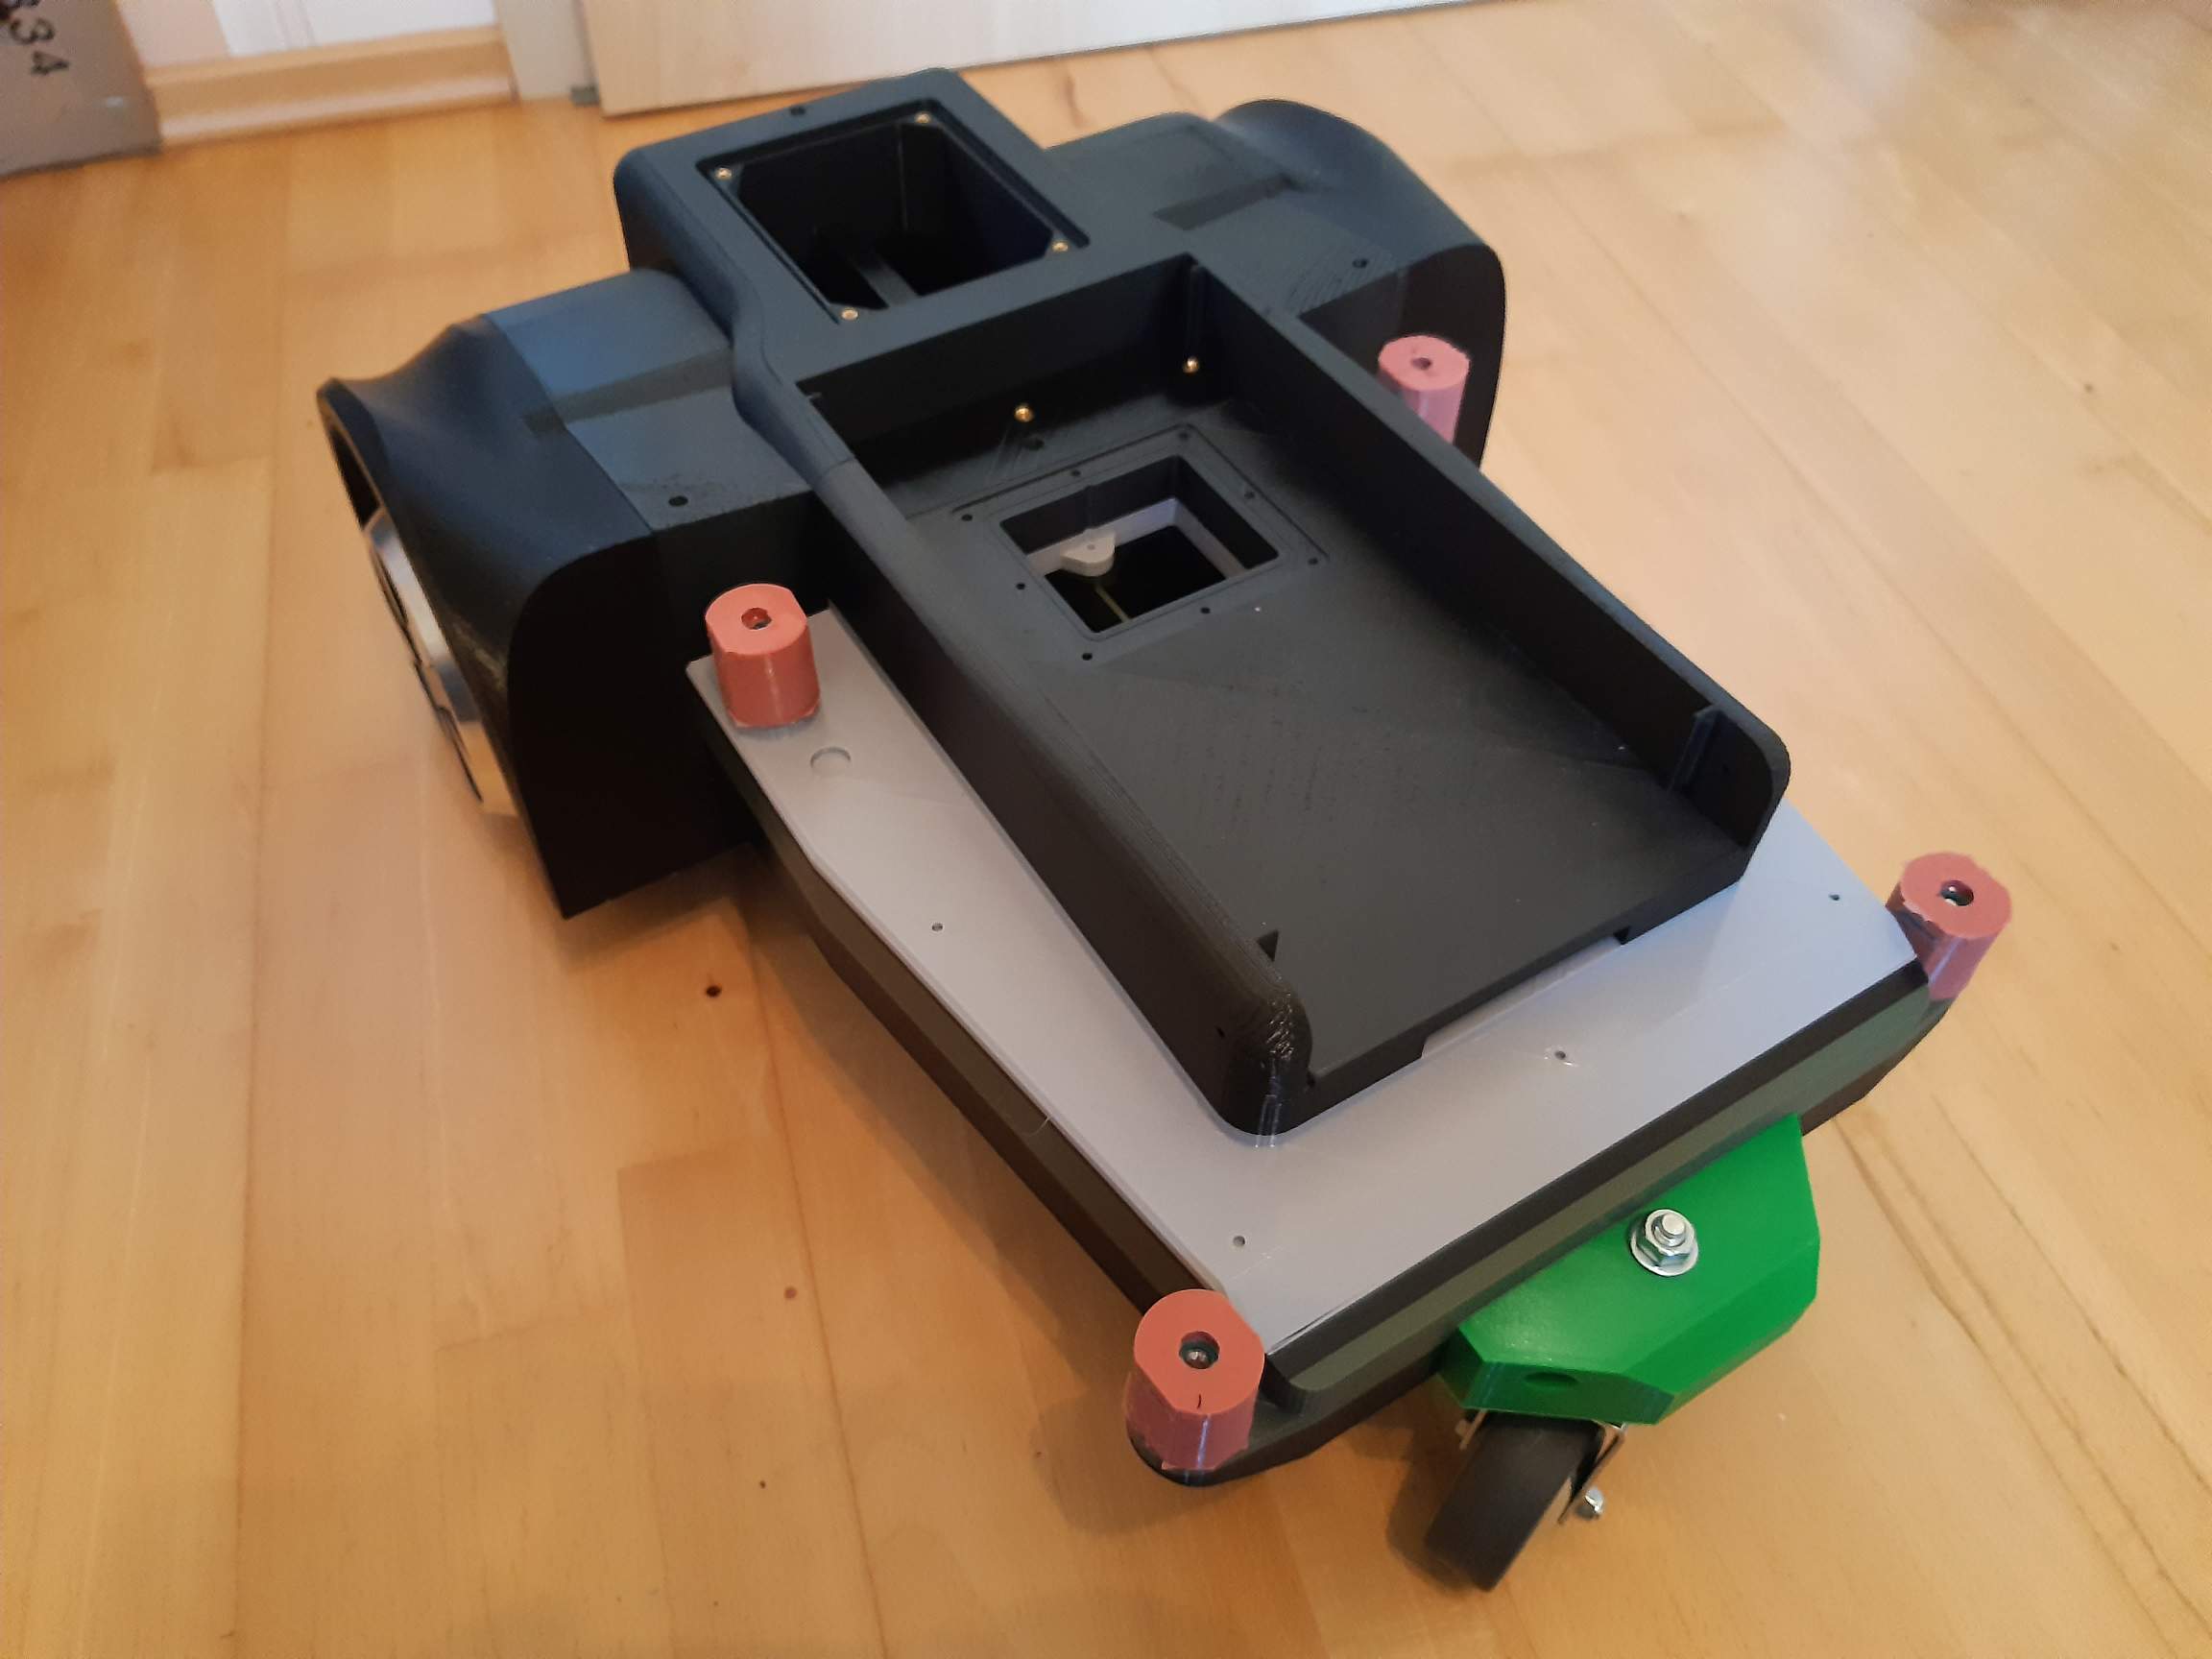
Mount micro switches
This has been done in previous step. See lower chassis front section
Mount bumper trigger
This has been done in previous step. See front chassis assembly
Mount front chassis to dampers
Again, it depents on which kind of dampers you purchased or mold. If yours have nuts on top, you need M6x18mm screws to fix it. Slide the front chassis onto the lower chassis and ensure that bumper trigger plate will be able to trigger the micro switches.
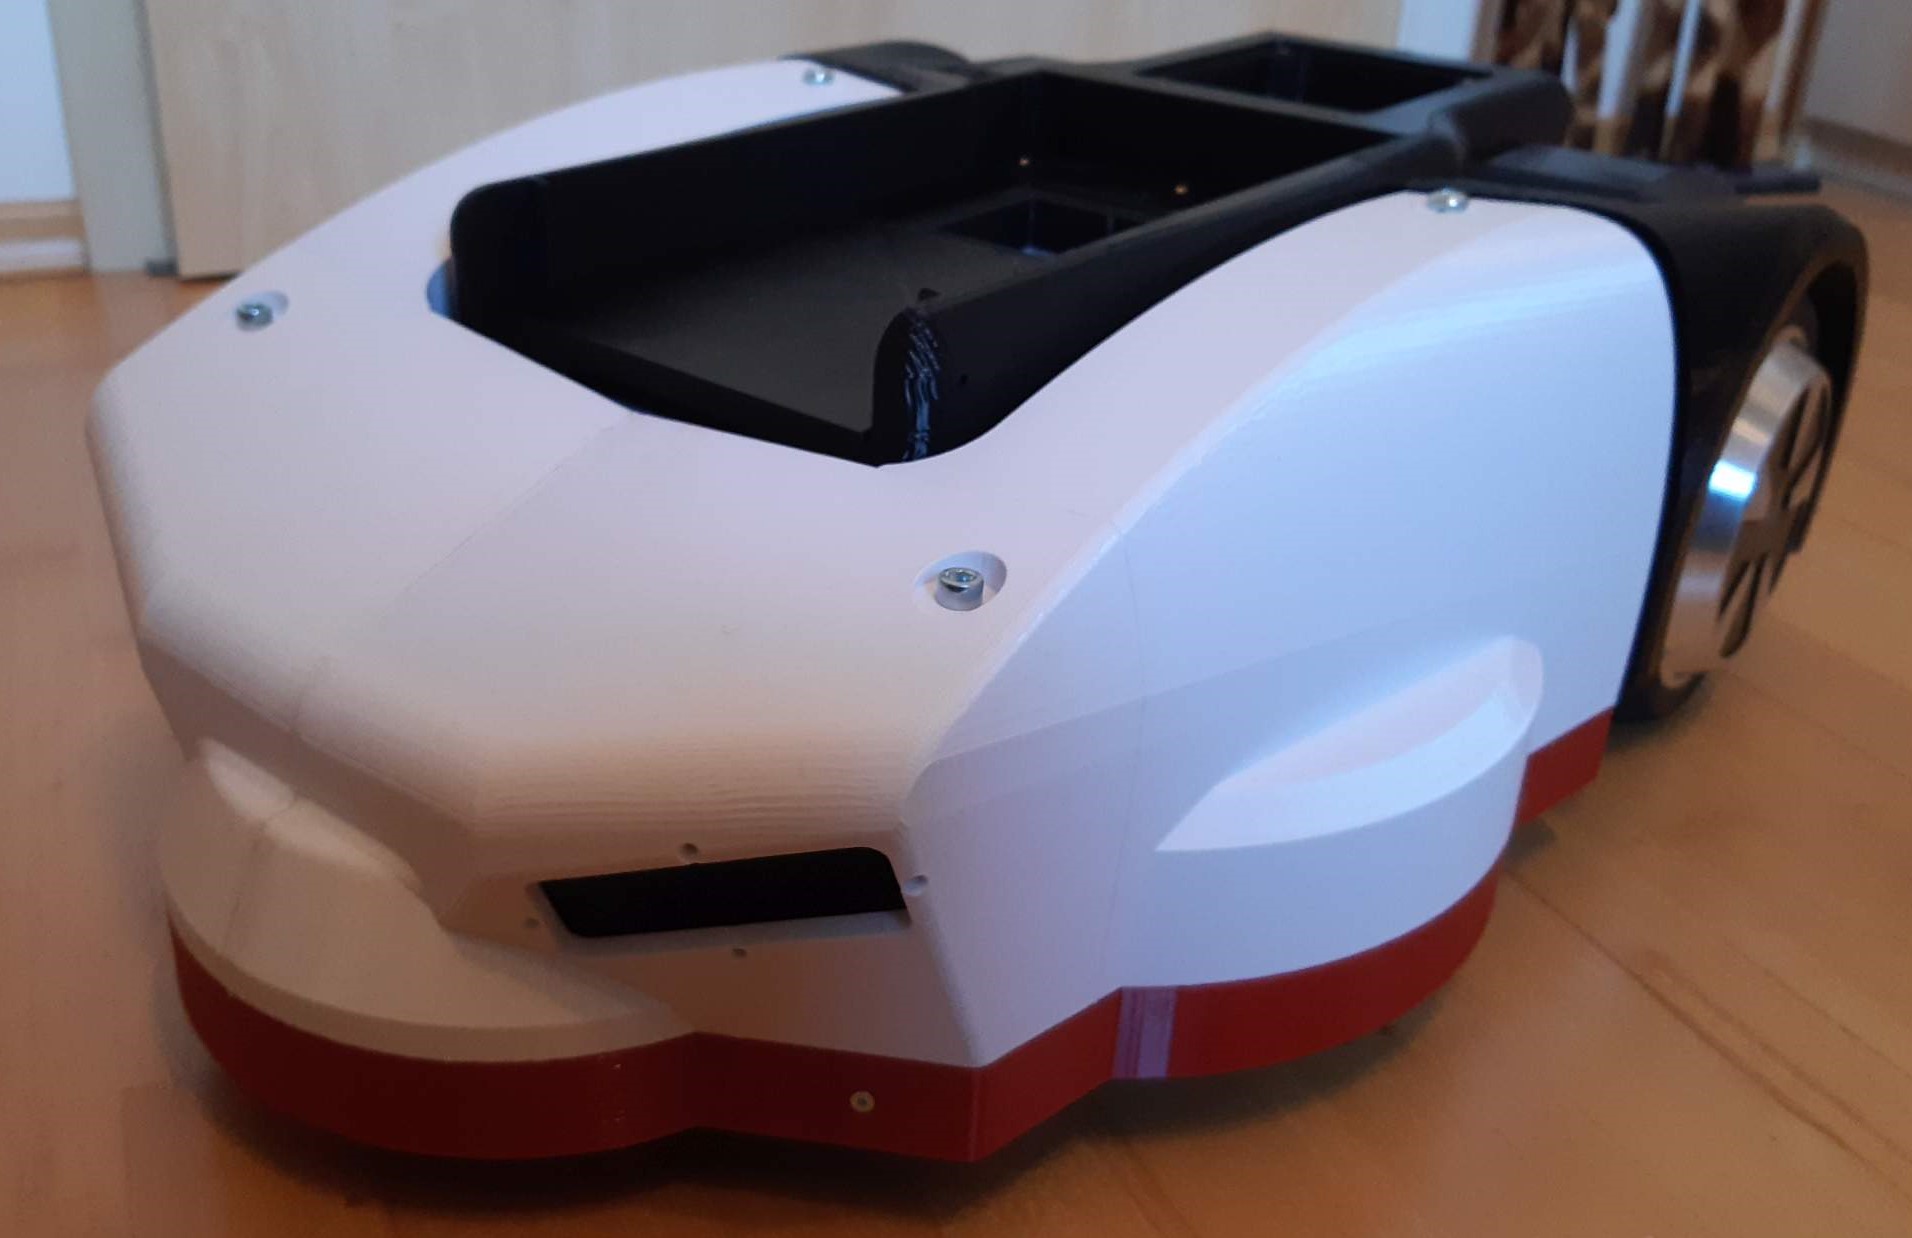
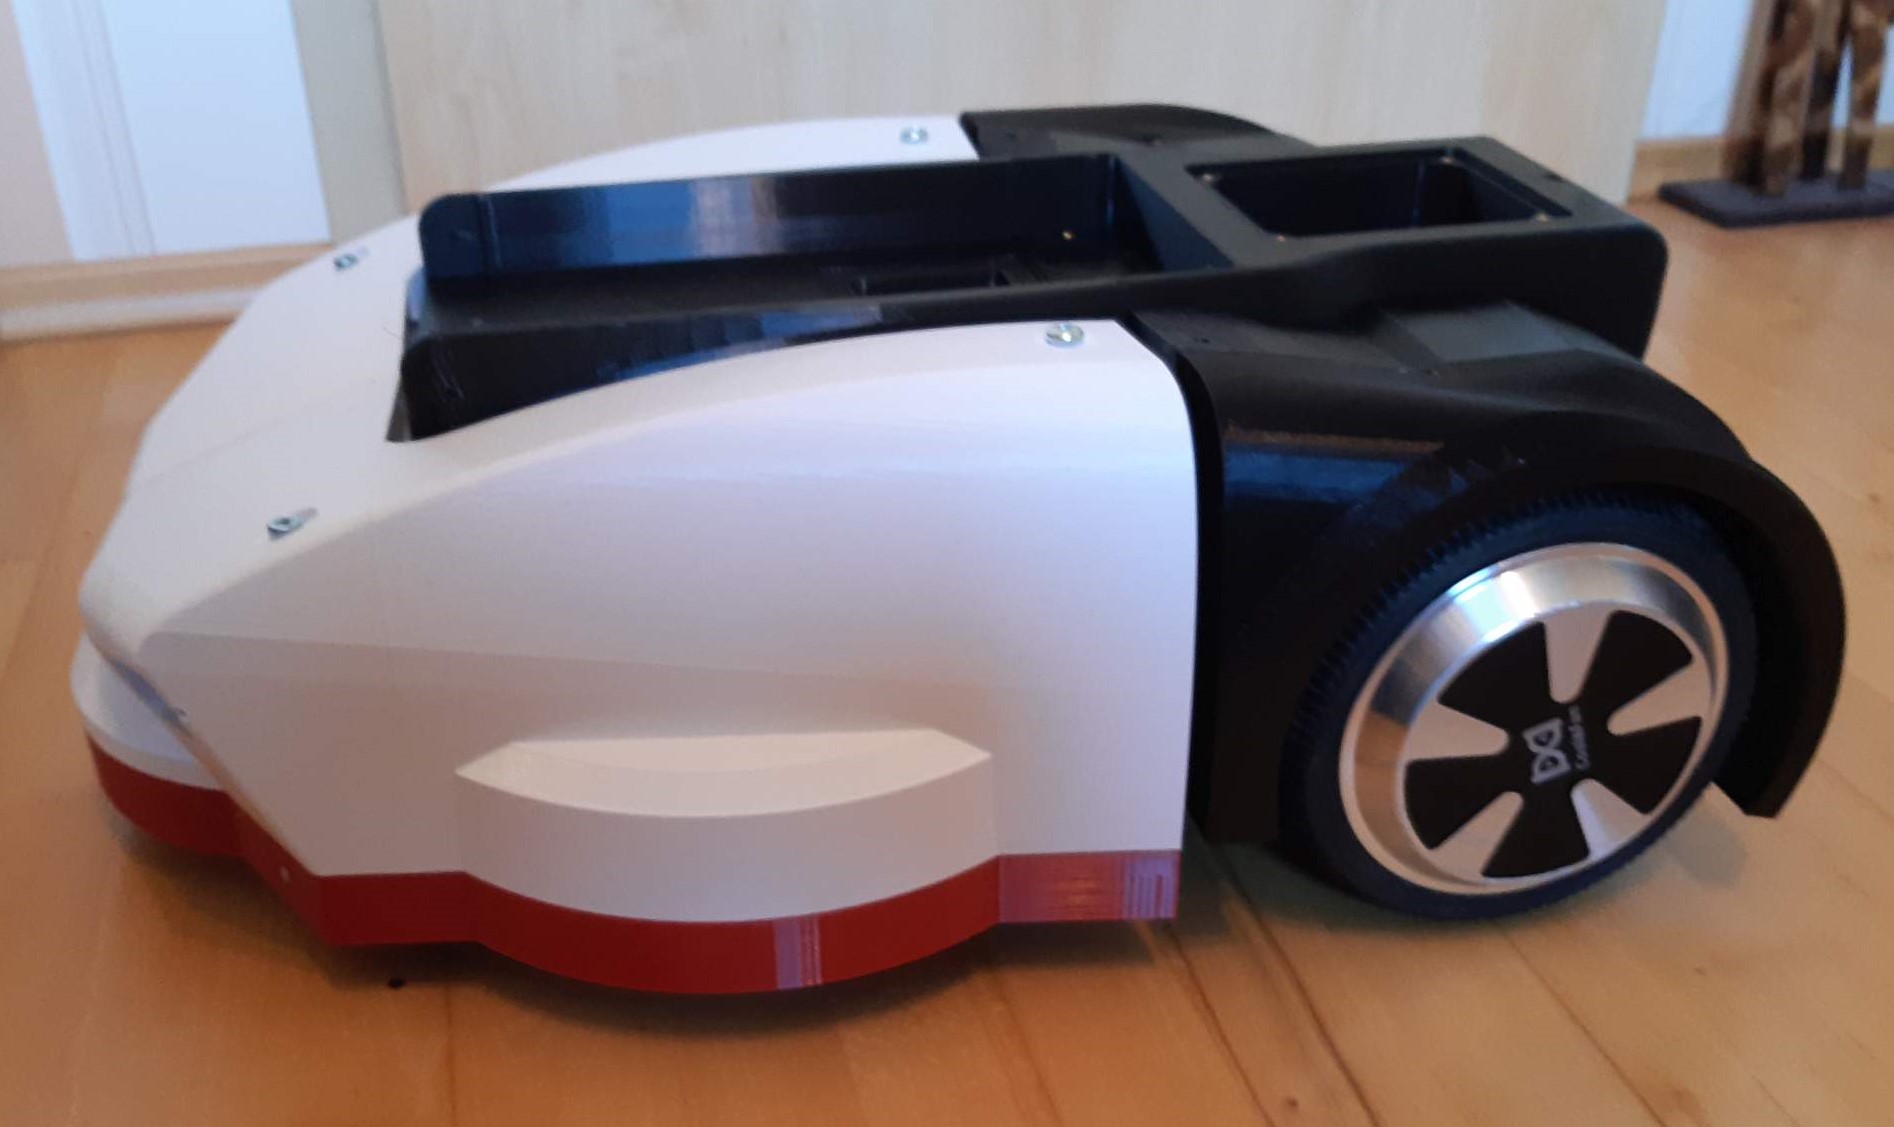
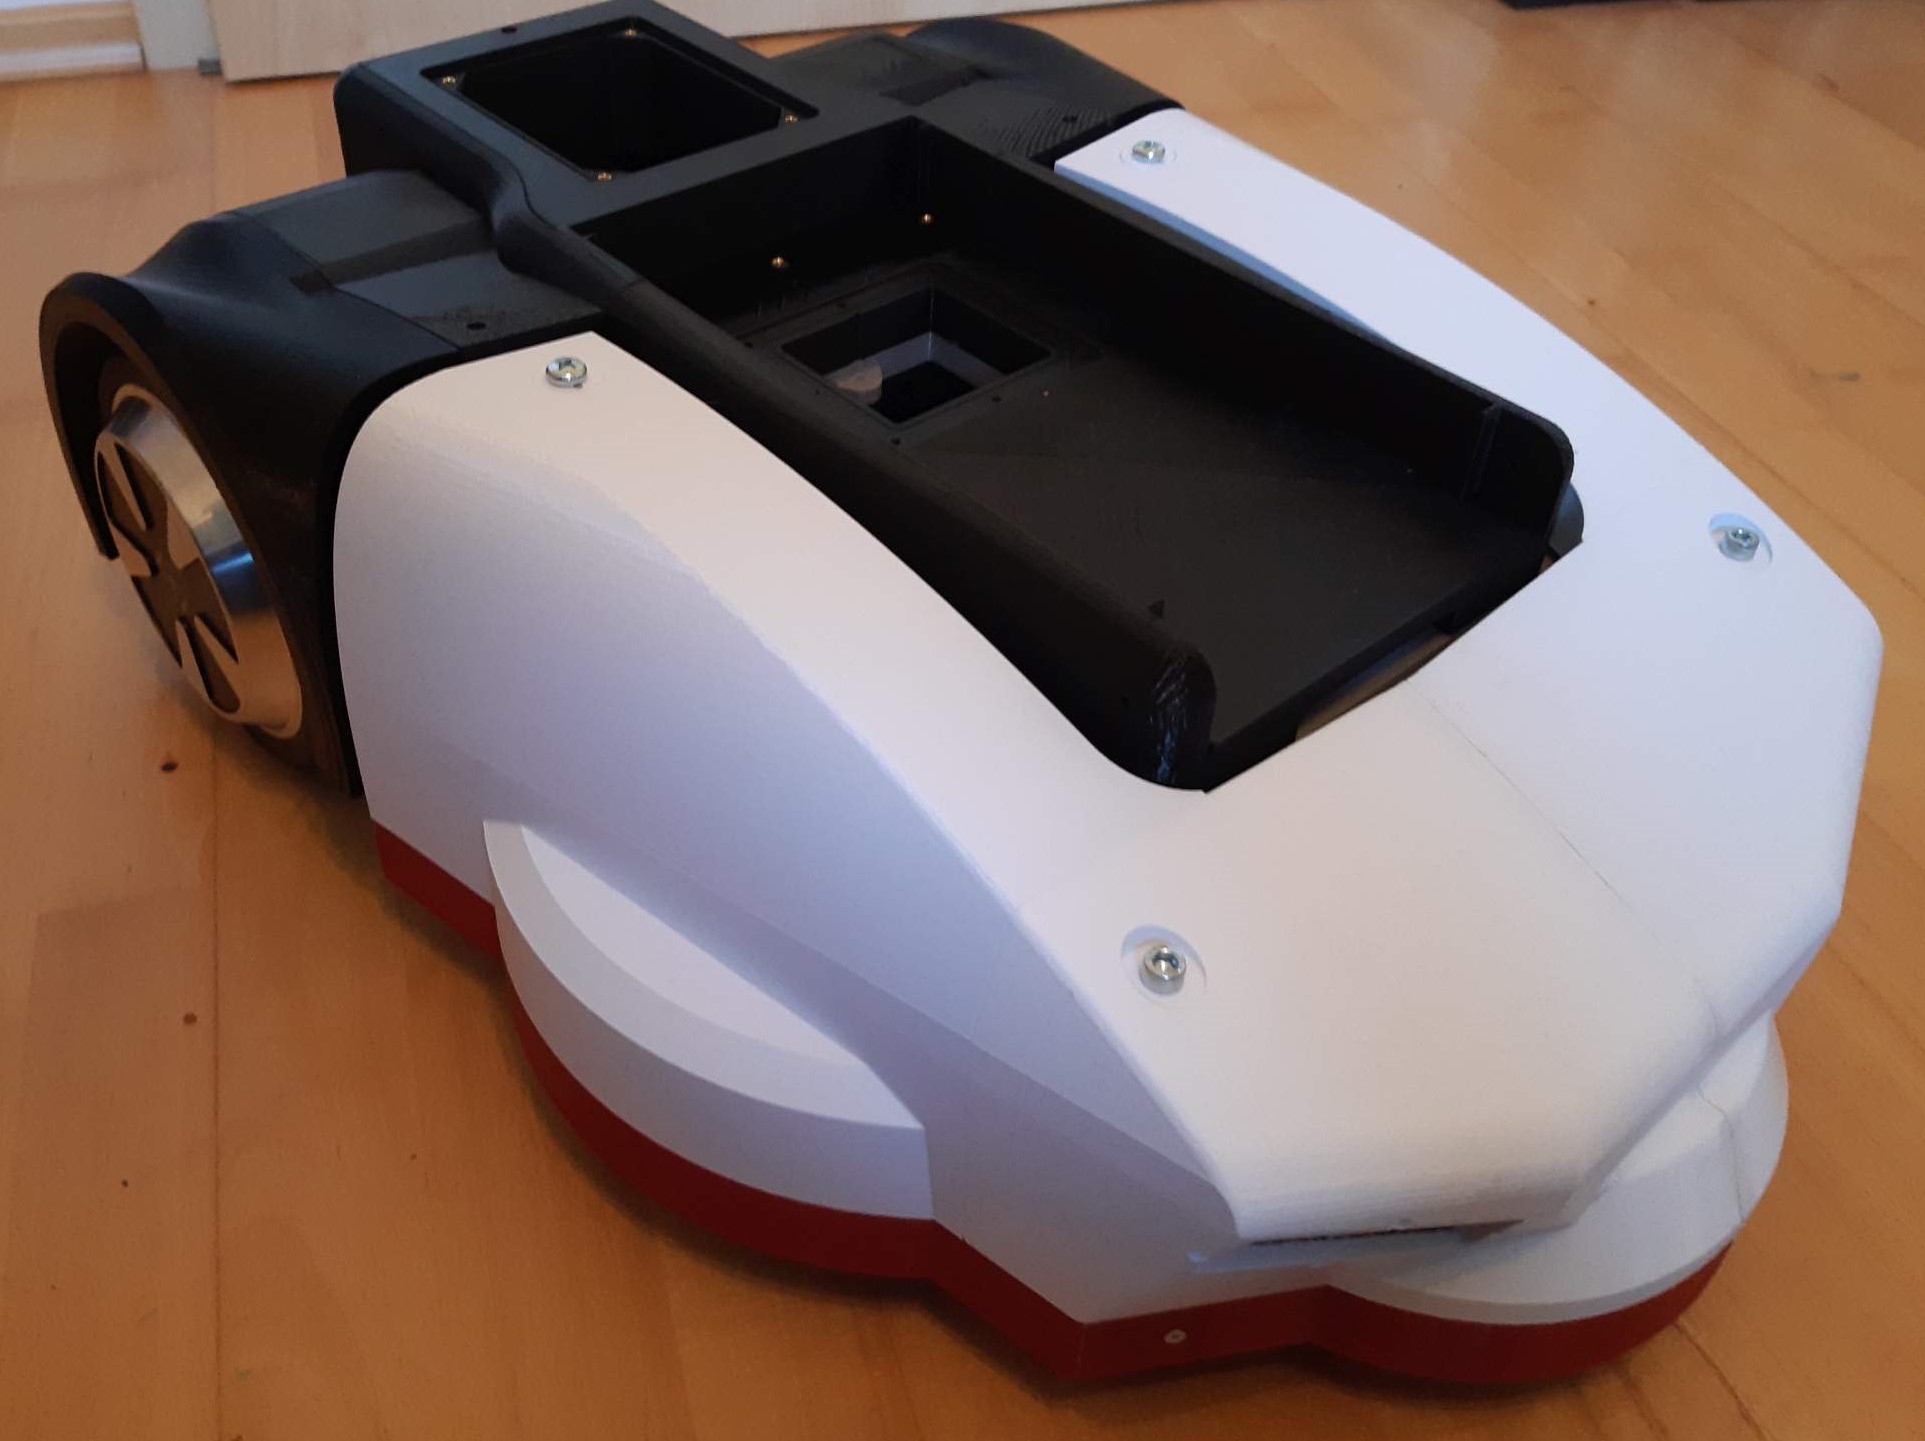
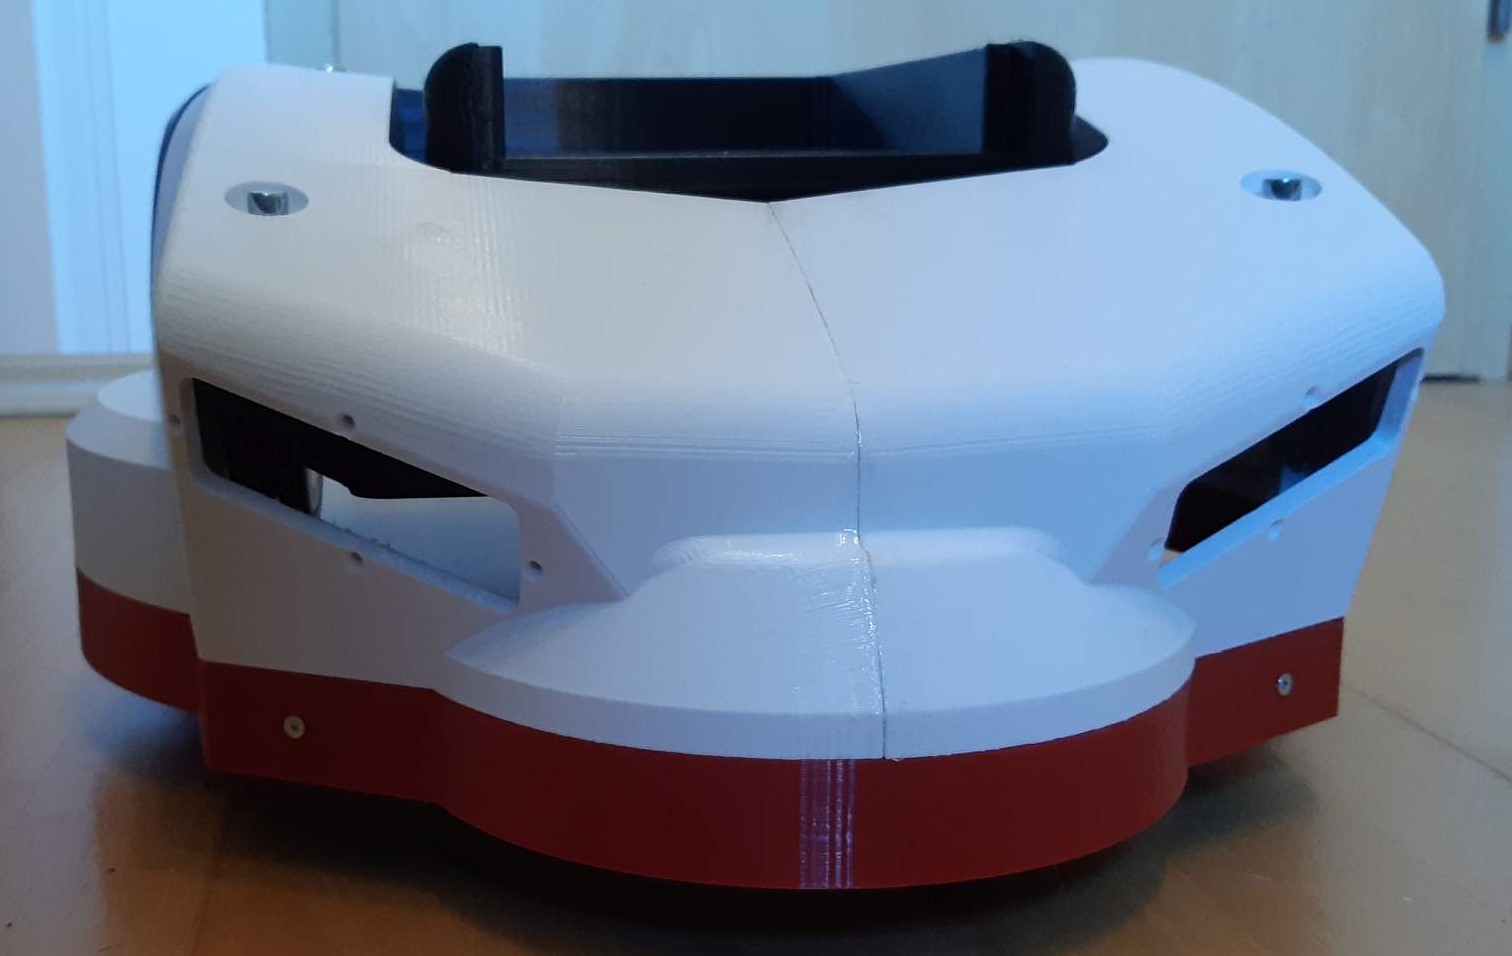
Congratulation
Your chassis is now complete so far. The next steps depends on your choice of electronics, connectors, plugs, sensor payload and so on. From this point, I’ll describe how I complete my HoverMower with the electronics I choose. But please be aware that this is just an example of how to build a working robot. It is up to you to implement other electronics according to your budget and needs.