Prepare your PCB box
As I don’t know how your electronics will look like (and even don’t know, how my own electronics will look like), the PCB box was created as some kind of pattern. You need to change things to meet your requirements. However, a few things will not change so I describe general steps in this section.
The box was designed to be detachable. The idea was taken from Vitulus lawn mower project (https://vitulus.lacina.dev/). This way, you can place all your expensive electronics (NVidia Jetson, Raspberry Pi, stereo camera, lidar, what ever) into this box and store it on a safe place to protect it from water, moisture or thiefes. Also it is a good way to move it to another robot build. Maybe you have a smaller one as R&D platform in your house? Or another robot doing other things than lawn keeping? Just unplug the box and use the expensive parts somewhere else.
The PCB box itself consists of
- PCB_box
- PCB_box_lid
- sub_d_lower
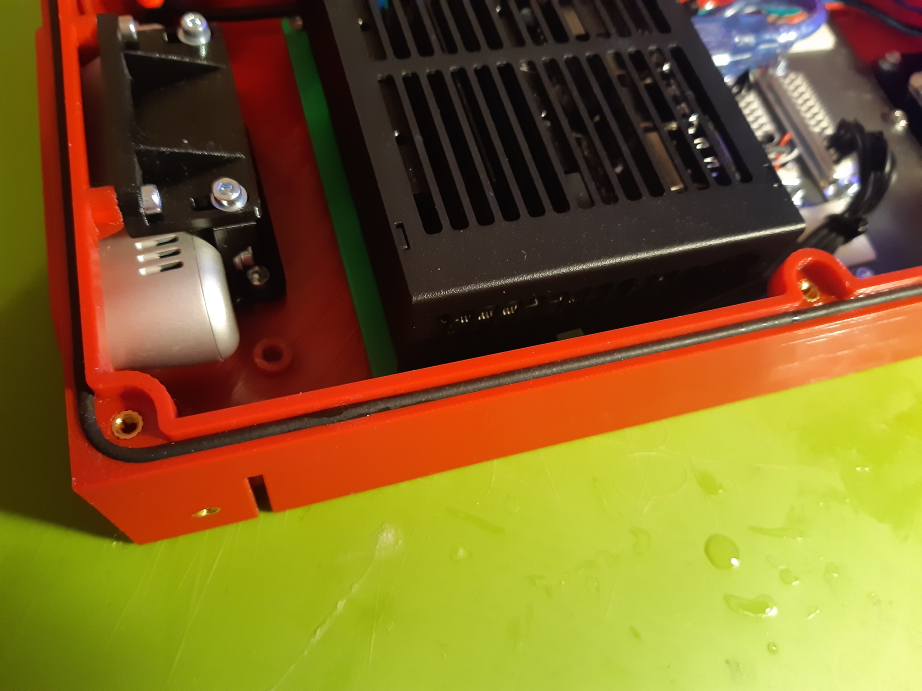
I use some 2mm rubber foam cord as sealing between PCB_box and PCB_box_lid. Just use some drops of superglue to keep it in place like this: 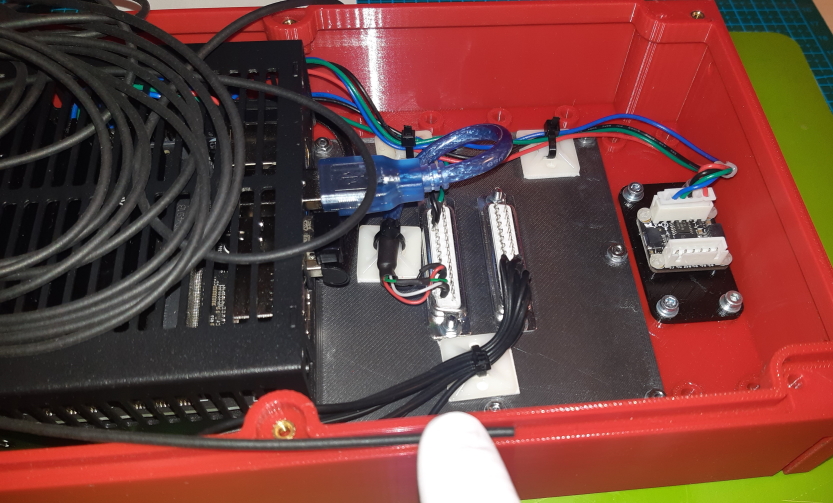
To close the PCB lid, you need different kind of M3 screws. If you can’t find them in your local store, just purchase longer ones and cut them off.
Table of contents
- D-Sub 25 plugs - Prepare cable routing betweeb PCB Box and Mower chassis