Silicone dampers
The HoverMower chassis consists out of two main parts. The lower chassis acts as housing for motors and electronics and an upper chassis, aka front-chassis, which covers the lower chassis and acts as bumper. To detect collisions with obstacles, front cover can slide thanks to silicone dampers. In case of a bump, front cover slides off its origin position. This offset gets detected by simple micro switches which tells electronics that a bump occured.
I use these self-molded dampers since couple of years on my first self-printed lawn mower. It was an Ardumower Arctic Hare chassis https://www.thingiverse.com/thing:3344829.
If you don’t want to mold these yourself, you can also purchase some rubber dampers instead. Please ensure the height of 30mm and a diameter of 25mm (30mm max). Also it should have M6 threads. You find different kind of dampers out there. Beware, you want soft ones meaning you need Shore 45 ones.

Parts needed
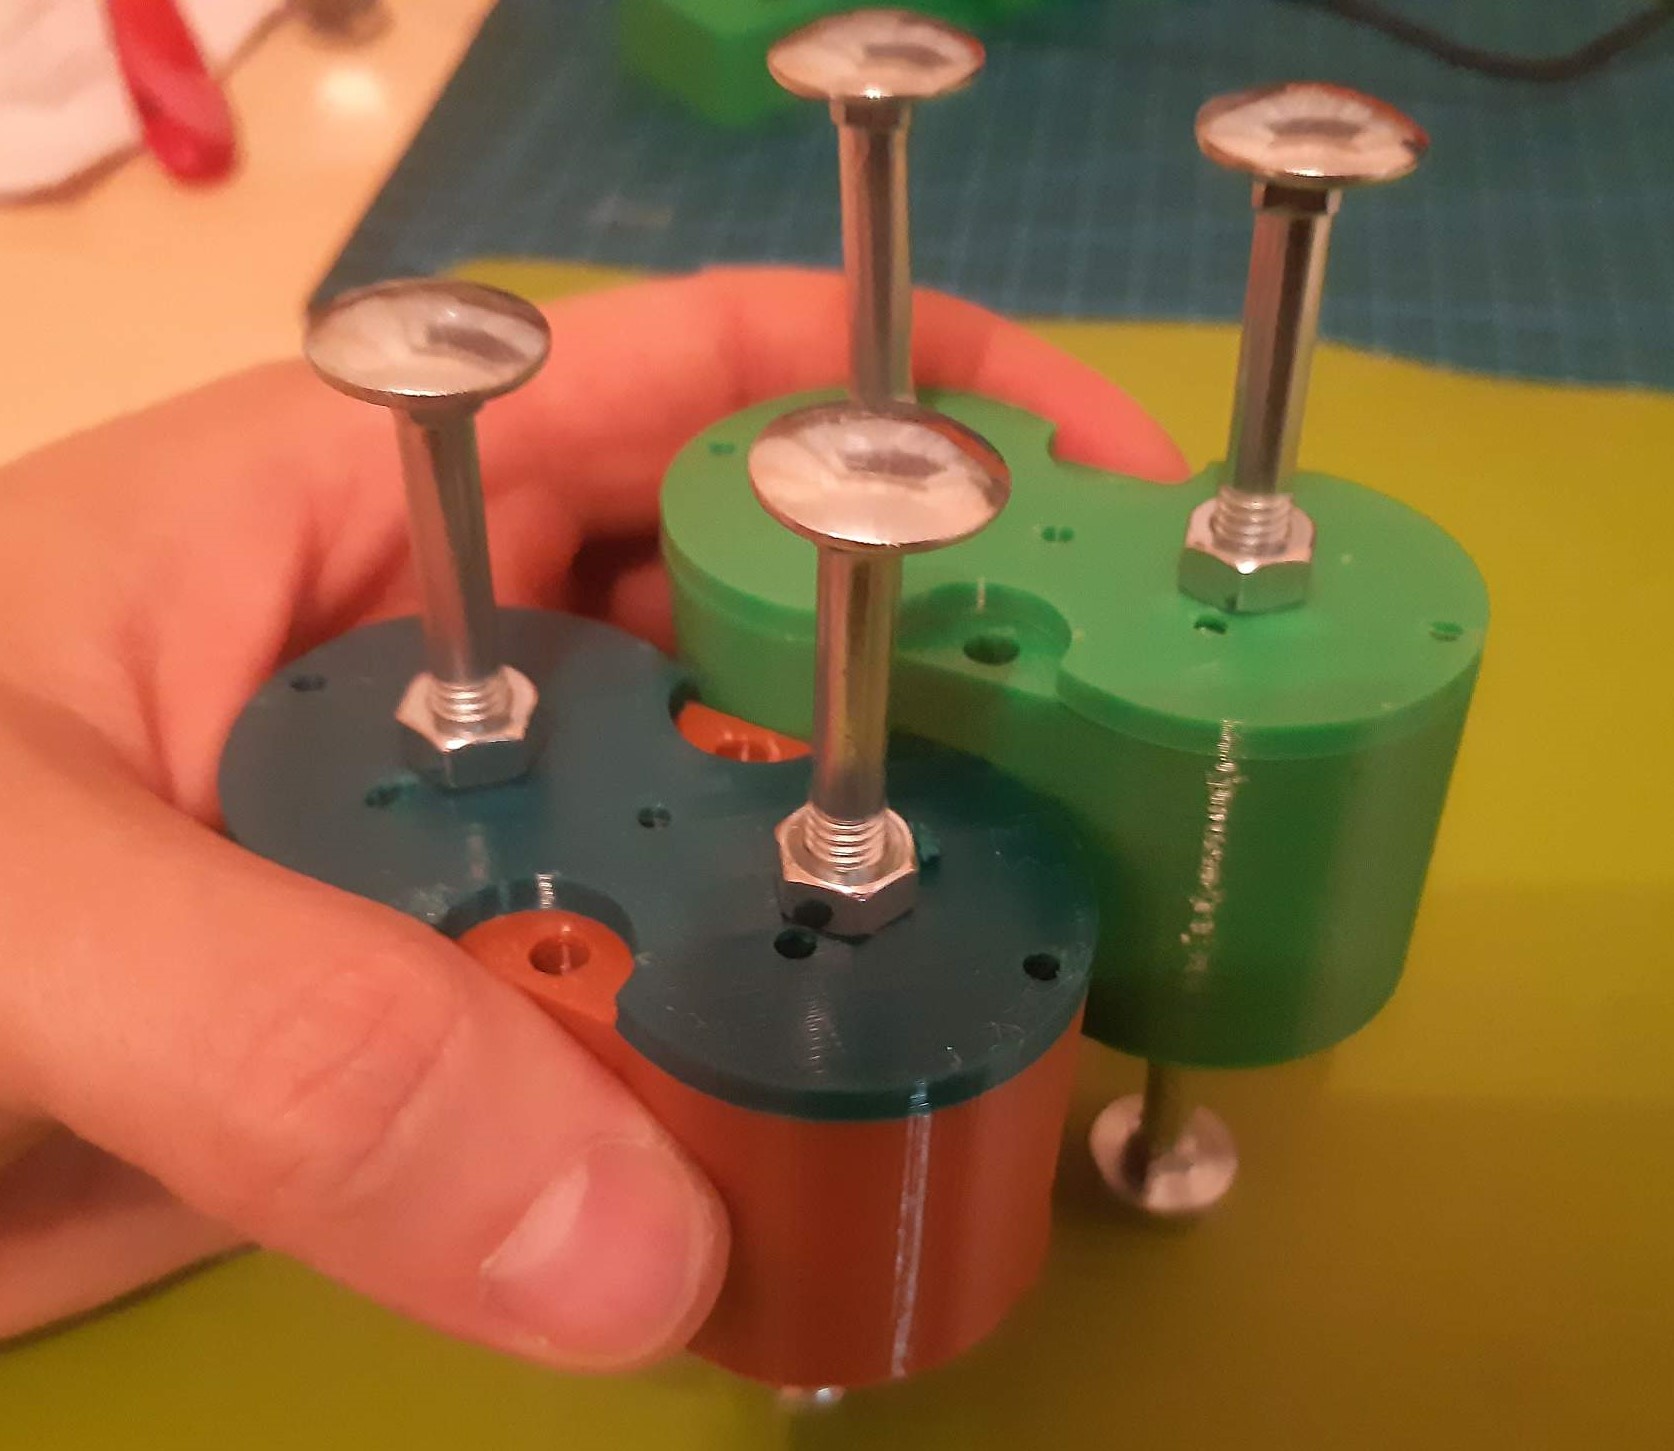
You need a few printed parts, which can be found here https://www.thingiverse.com/thing:3866769 Also you need some M6 Nuts and screws. There are couple of ways how to build these dampers depending on your needs. To attach the dampers to your parts, M6 nuts or hex bolts gets molded into the dampers. I decided to use M6 nuts only.
Beside this, you need 2K silicone. I purchased high temperature silicone for zinc molding in past. I once purchased it to mold silicone socks for my 3D printers but it can be used for many other things as well. I purchased mine here (just as recommendation, no affilate link) TrollFactory
It has a Shore of 33.

You also need a large syringe (I use 60ml ones), a precise kitchen scale and mixing pot.

Prepare the mold
After inserting the nuts or bolts (depending on your needs) to the parts named “composite”, attach them under the lid as shown in picture. Use some M6 nuts as spacers. The composite part must not touch the lid of the mold (!)
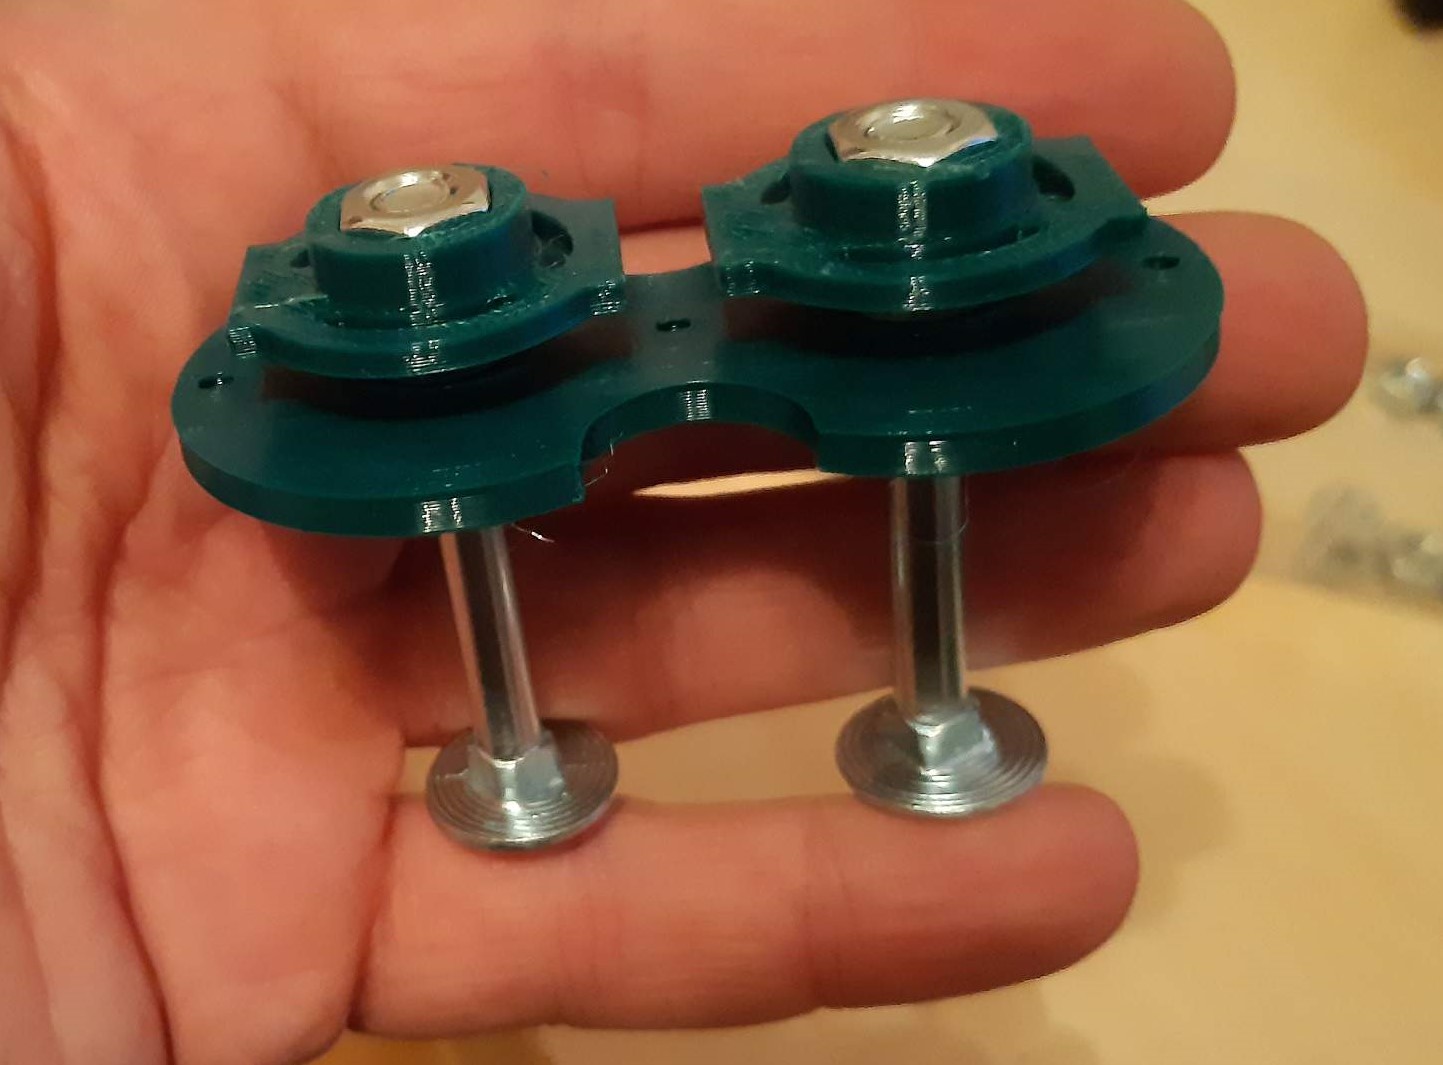
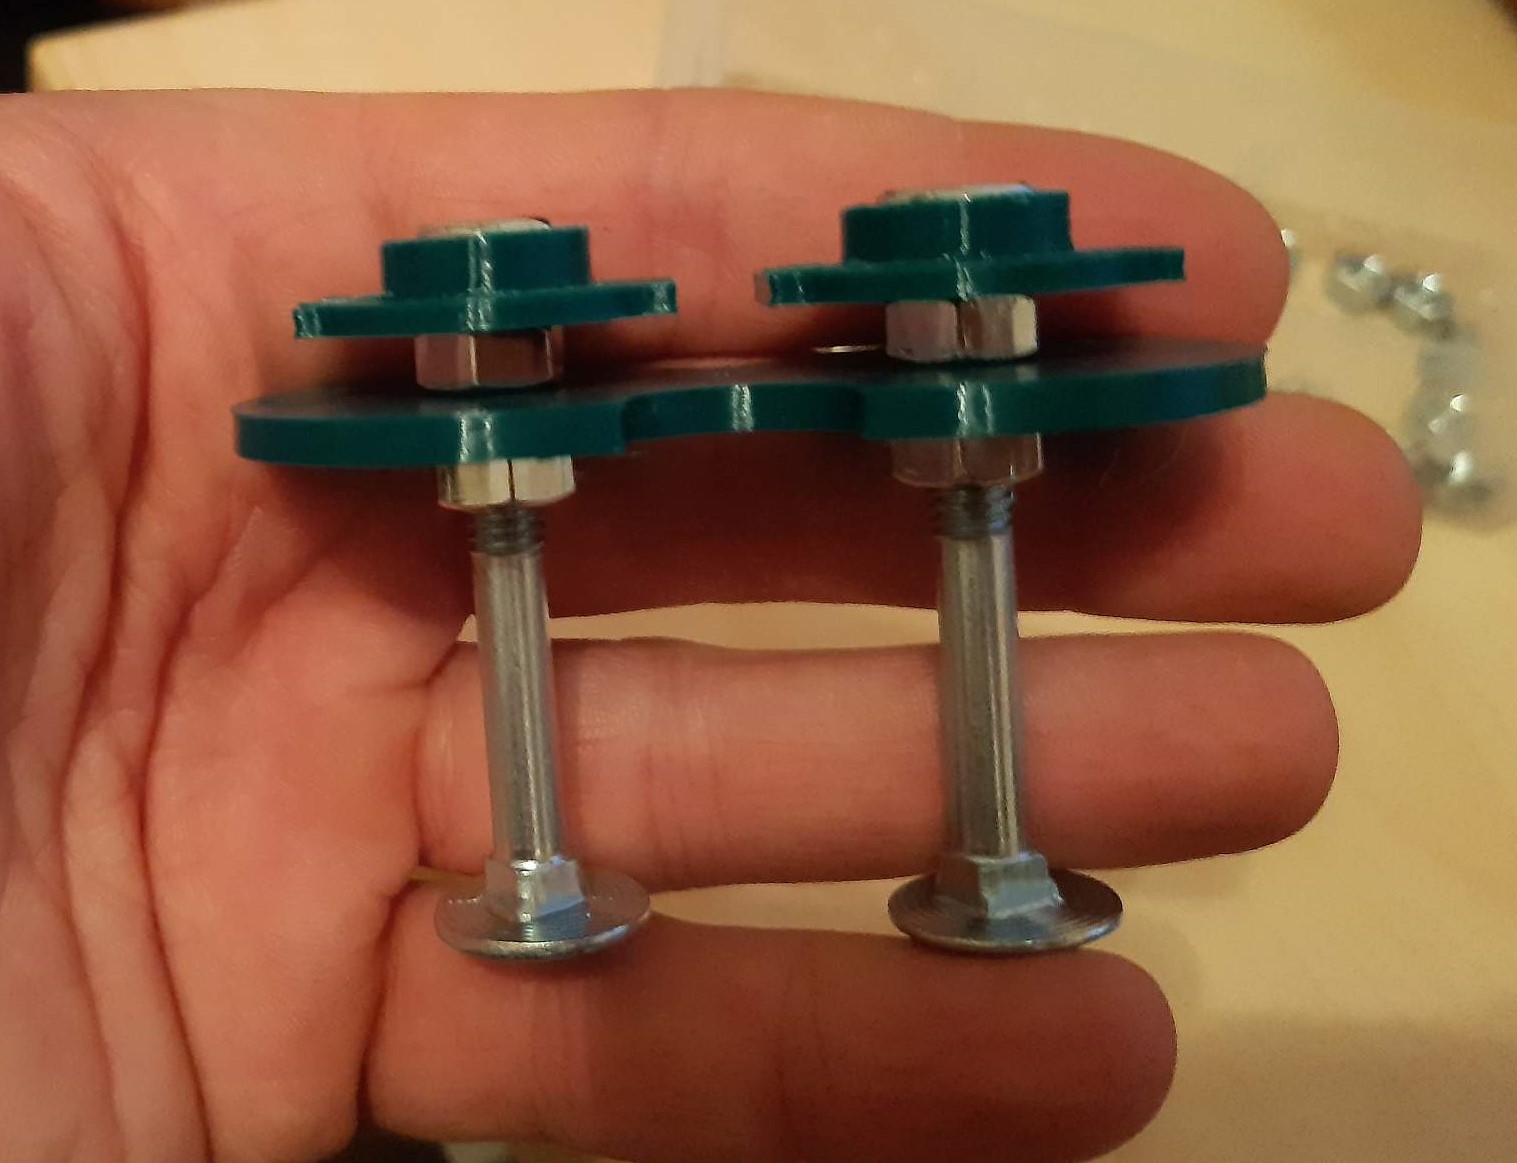
Now you need to put two other composite parts inside the mold. Again use some nuts as spacers. Ensure you place composite part the right way into the mold 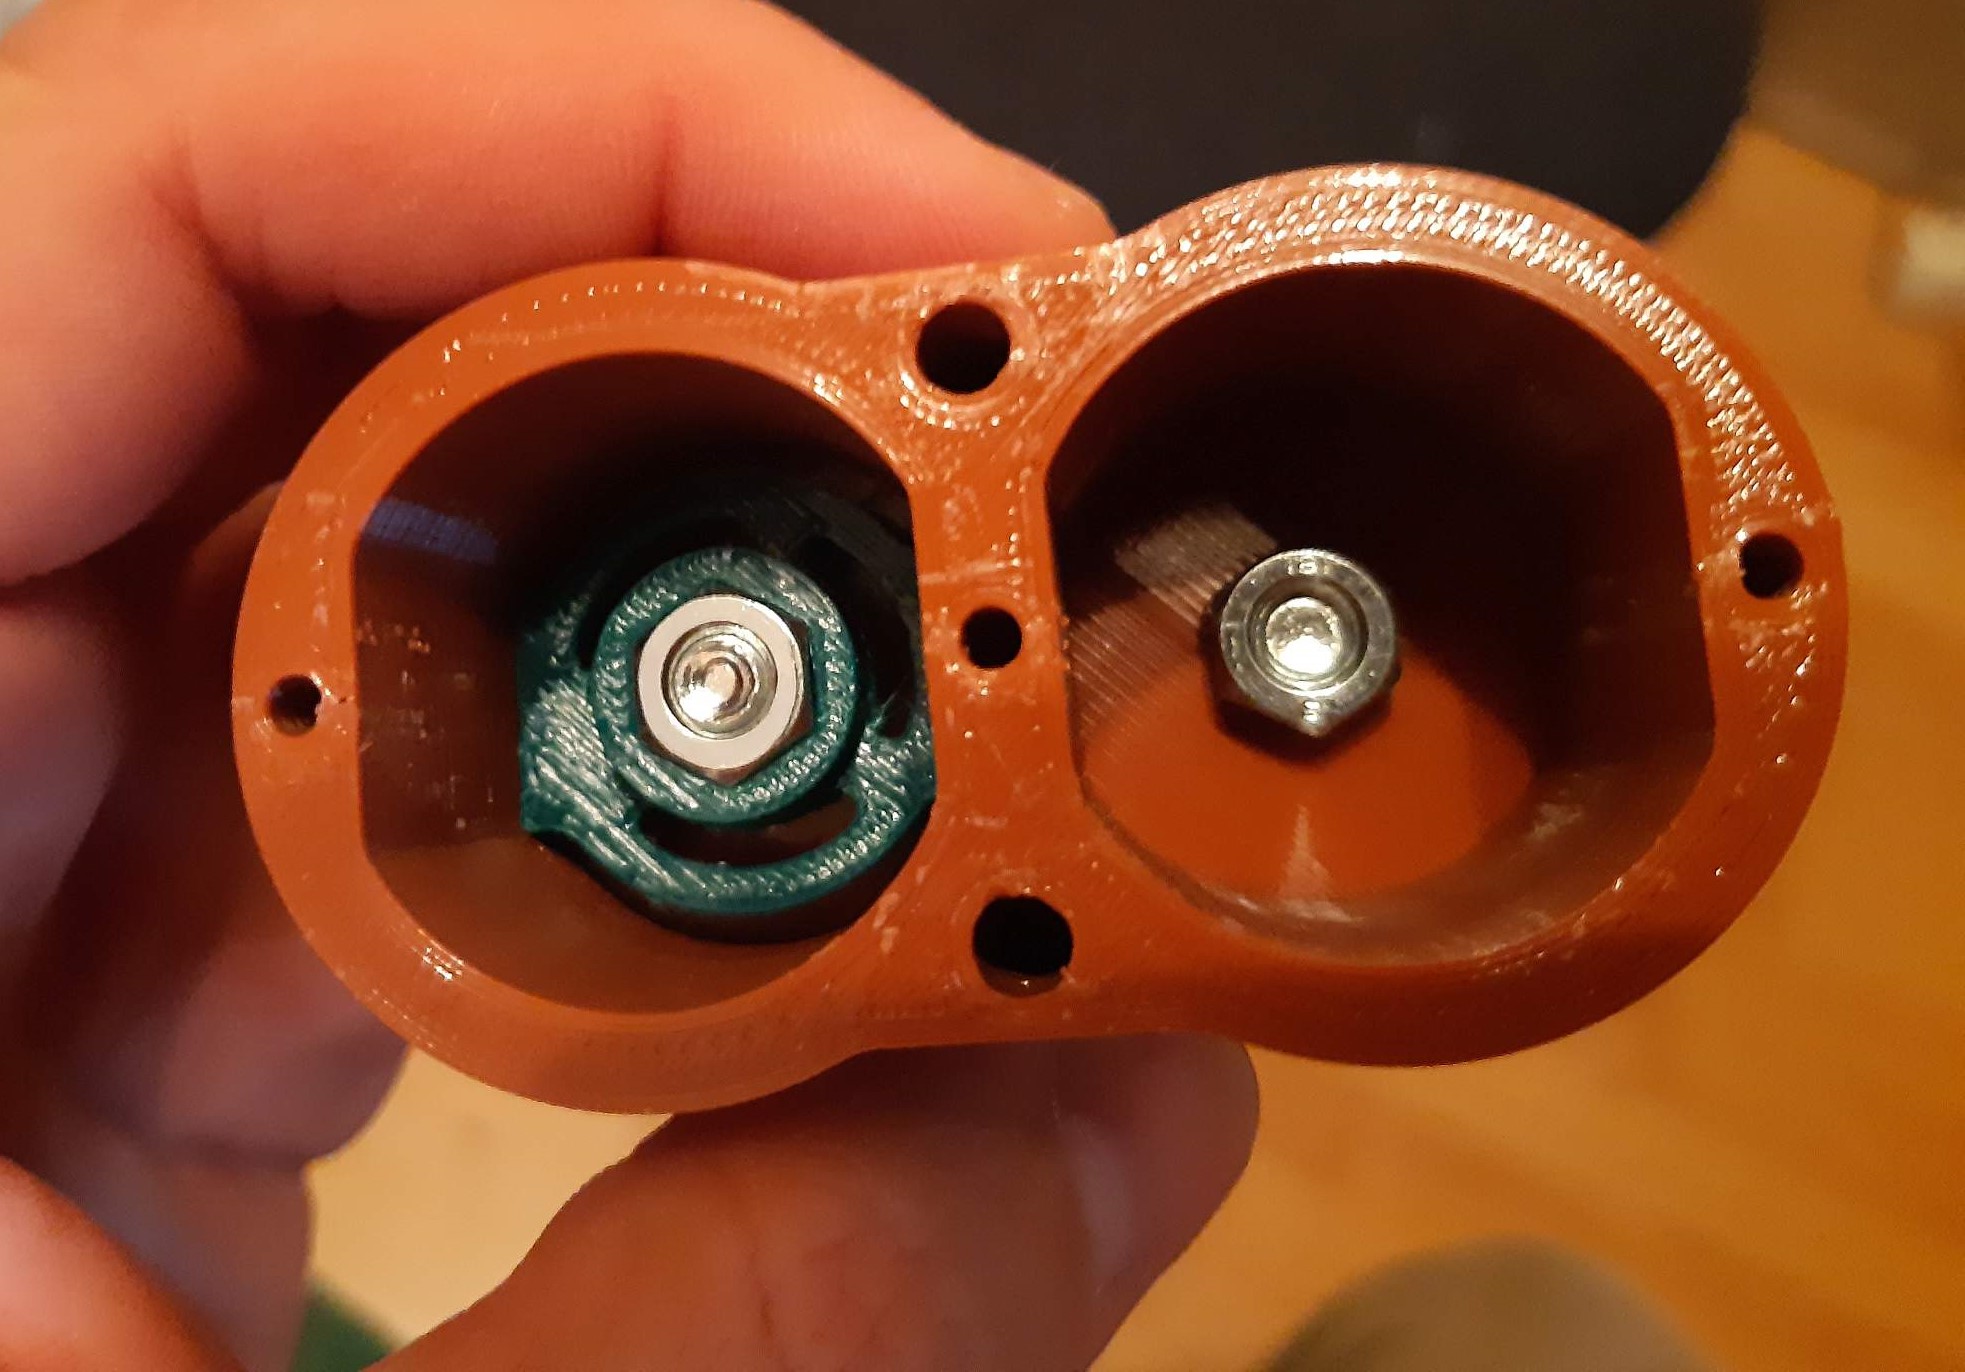
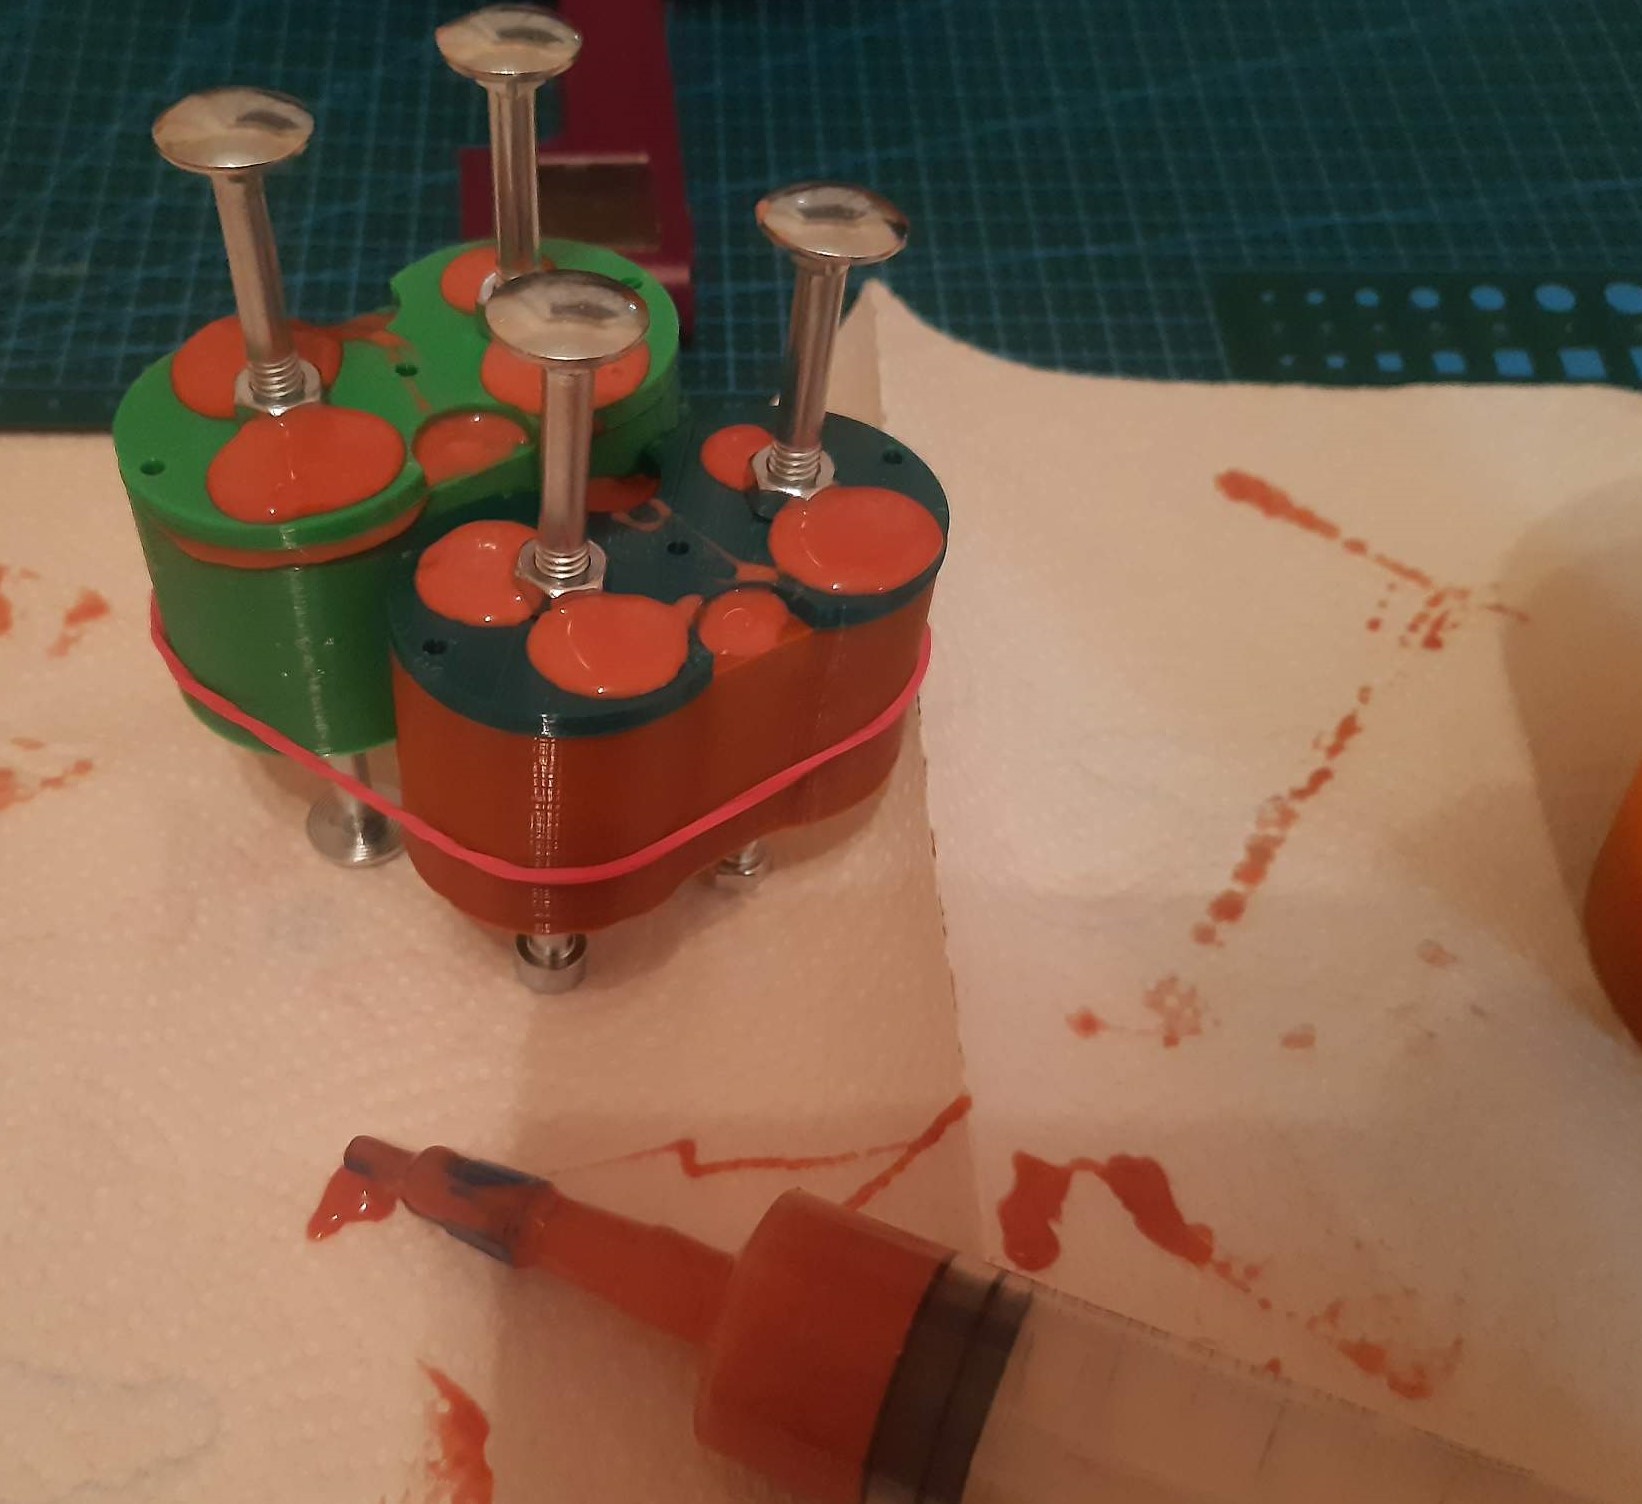
To finish the mold, place the lid on top of the mold and gently push it together.
It can be helpfull to drill two small holes to each half of the lid (see pictures right beneath the bolts). This way, air can escape during mold process and you can check if mold is filled completely.
Molding process
Now it’s time to mix your silicone according to instructions of supplier. For the one I use, you need to mix both components 1:1. You can use a precise scale or a syringe. Take your time when mixing. Both components needs to be well mixed but you want to avoid air bubbles. After mix is complete, evacuate the mixture or knock multiple times to your mix pot (1 minute). This way you can get rid of air inside the mixture.
Now use your syringe and soak up the mixture. You need approx 25-30g for each damper. Beware not to soak air inside. Now insert the silicone mixture into the mold. You find two holes at the left and right side. Fill the first hole until you see silicone escaping the mold. Now will the next one.
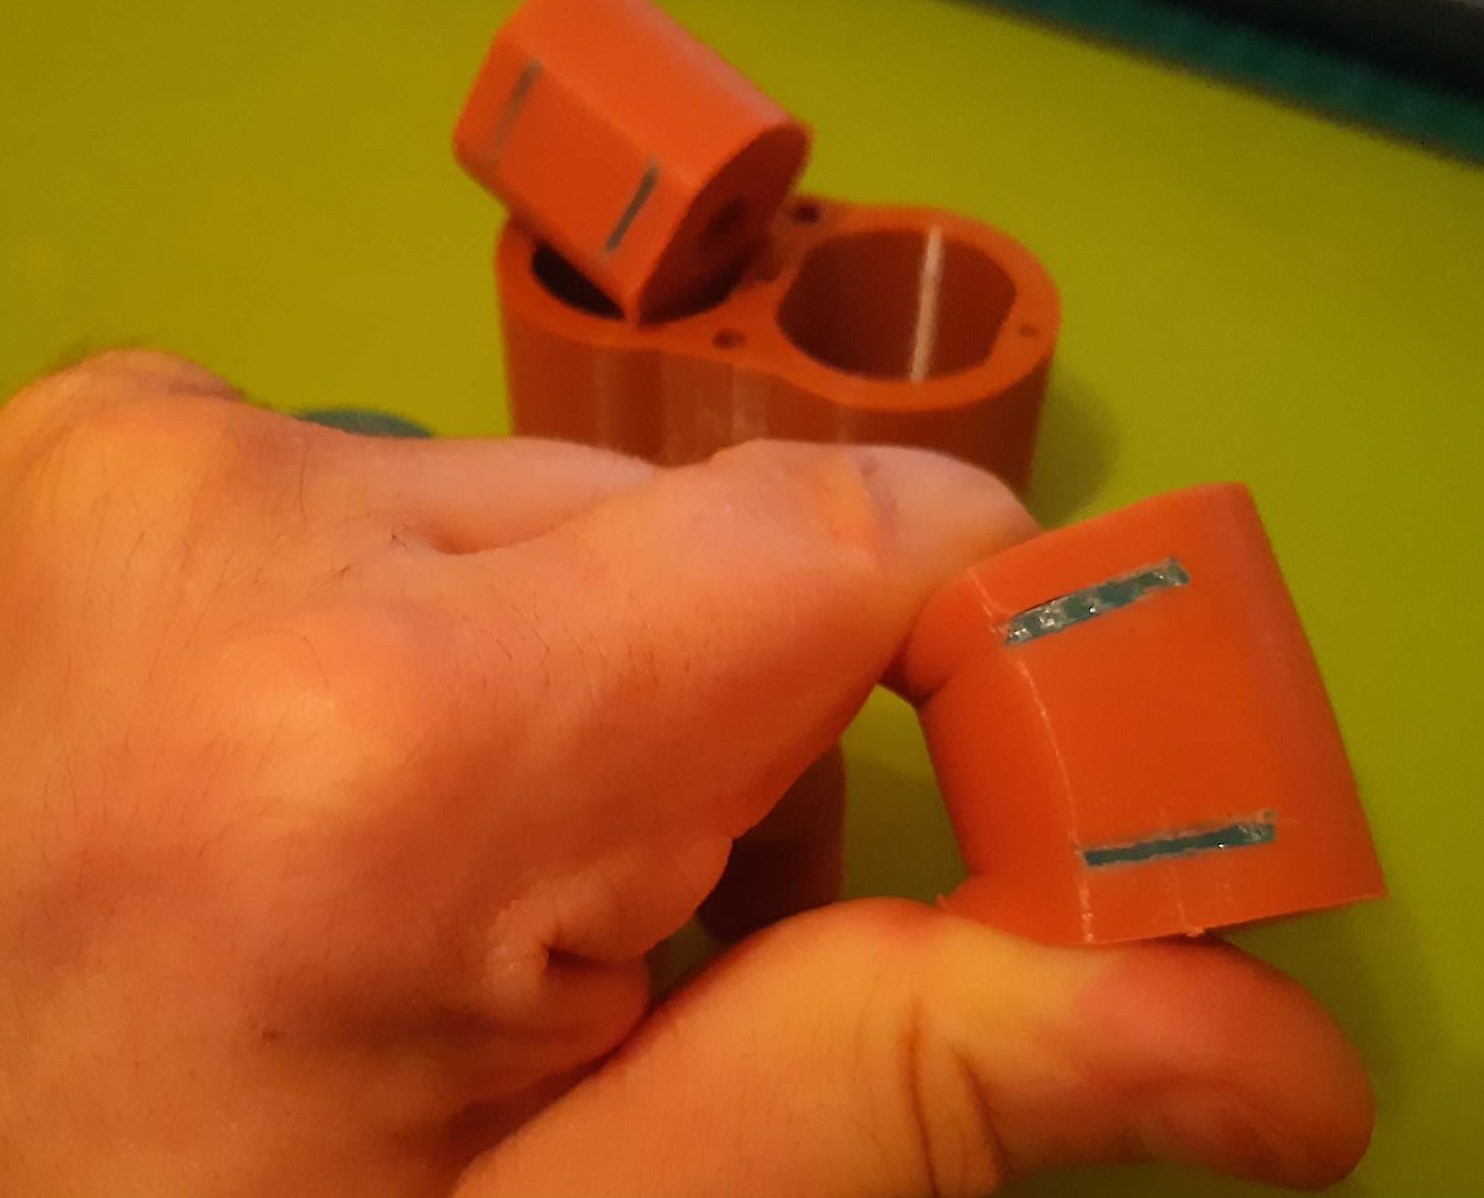
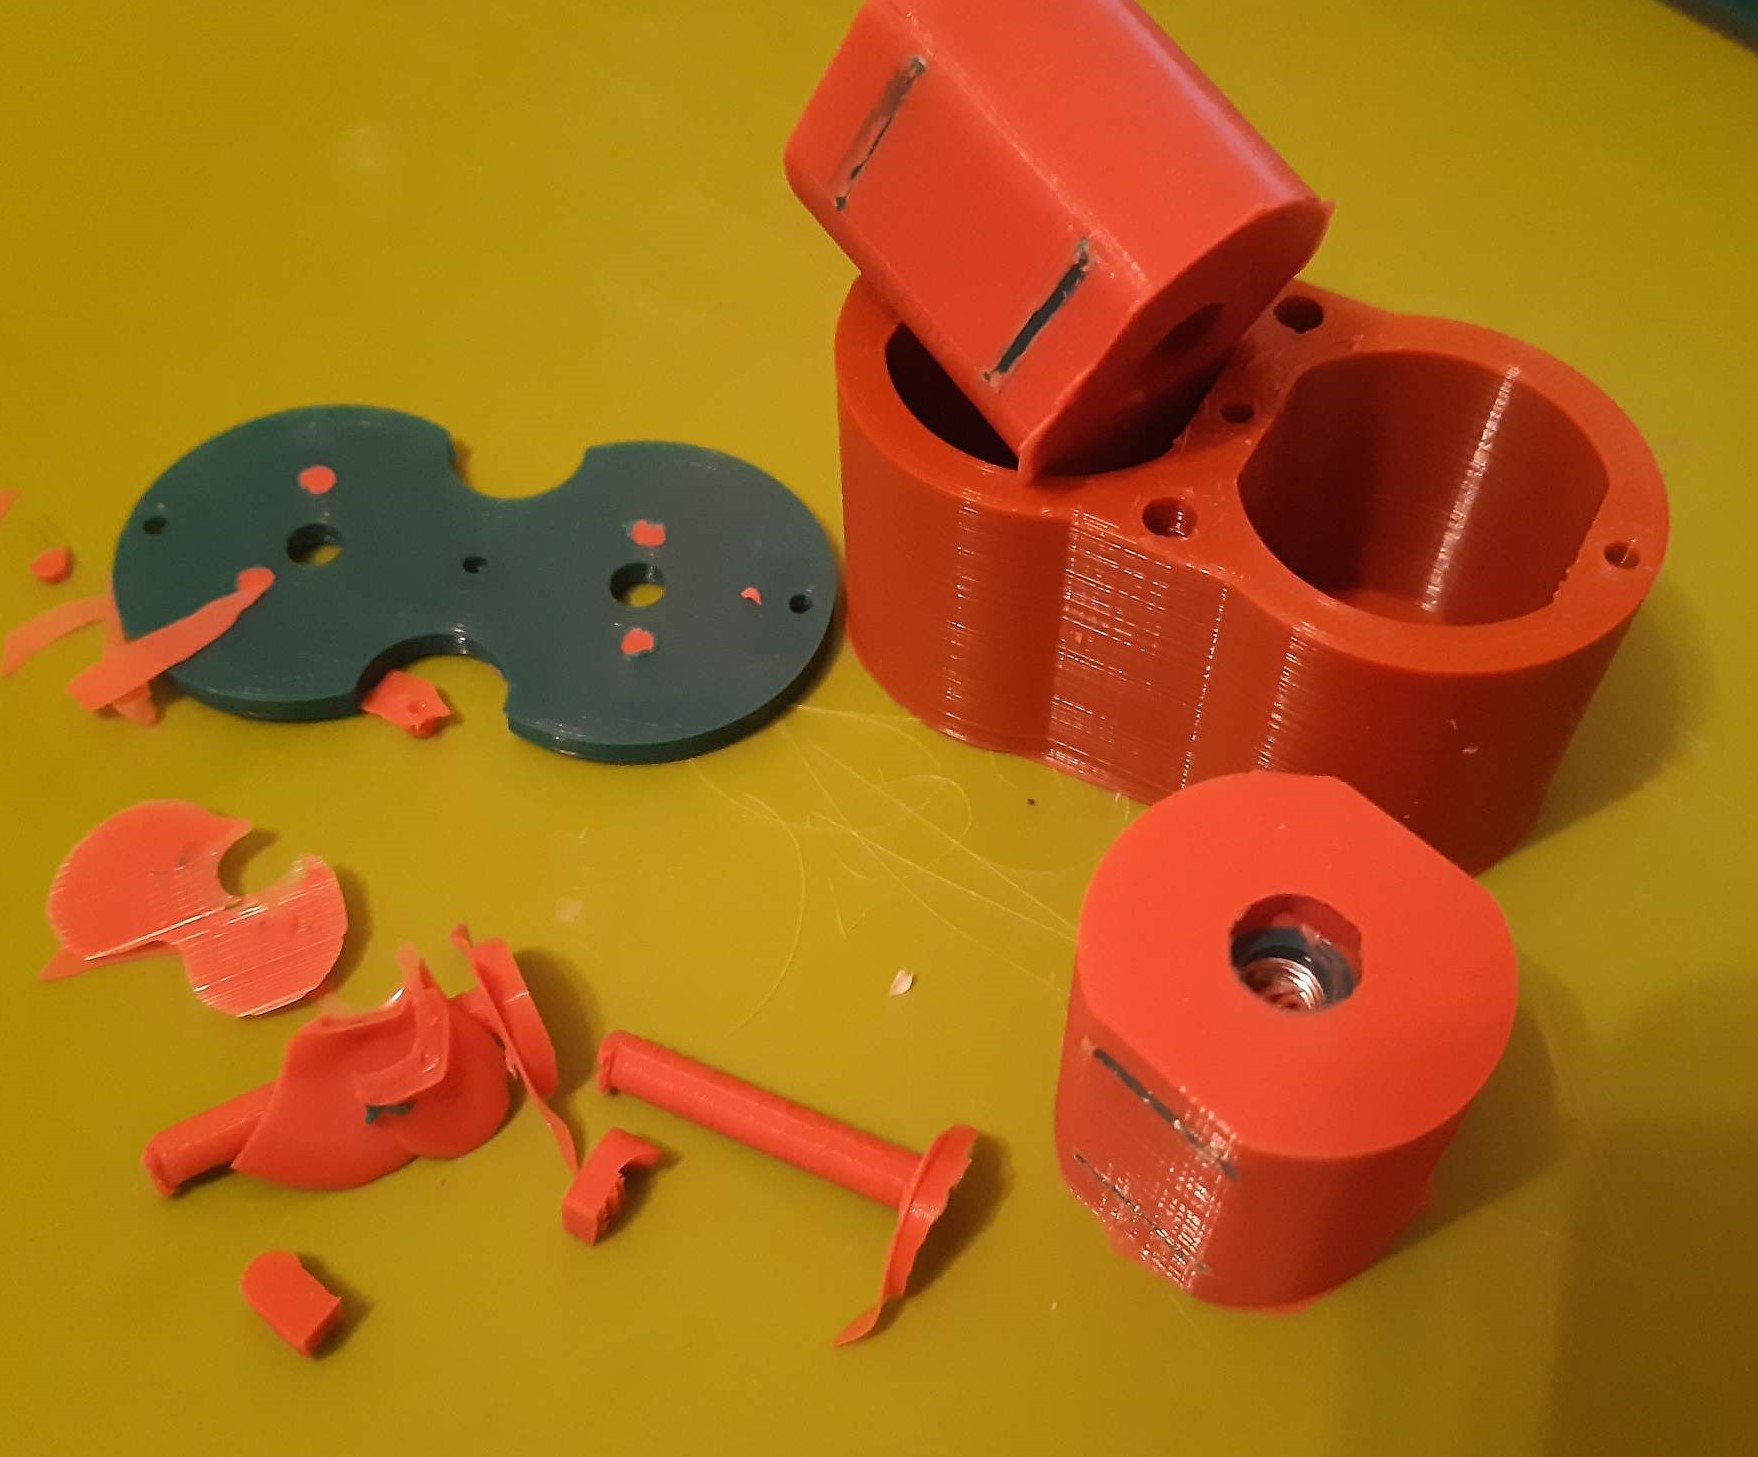
Dismanteling
After a couple of hours (depending on your silicone), you can start to dismanling yor dampers. To do so, first unscrew any srews or nuts which are at the outside of the mold. Next, use a knife to gently lift the lid off. Also remove any silicone from the two holes you used to fill the mold. Simply pull them out. To get the damper out of the mold, gently pull the dampers out. You might need to screw a bolt in again to be able to pull. While pulling, push through the hole of the bottom. Don’t pull too much as you risk to break your damper, be gentle.
Congratulationsyour dampers should look like this.